Schedule work with the Timeline and Calendar views in Jira
10 min
By the end of this lesson, you’ll be able to:
- Create dependencies between work items
- Visualize risks and warnings with dependent work
- Schedule work across weeks, months, and quarters
View and schedule your work in Jira
Jira business and software spaces provide two views that help you and your team track your work against a schedule.
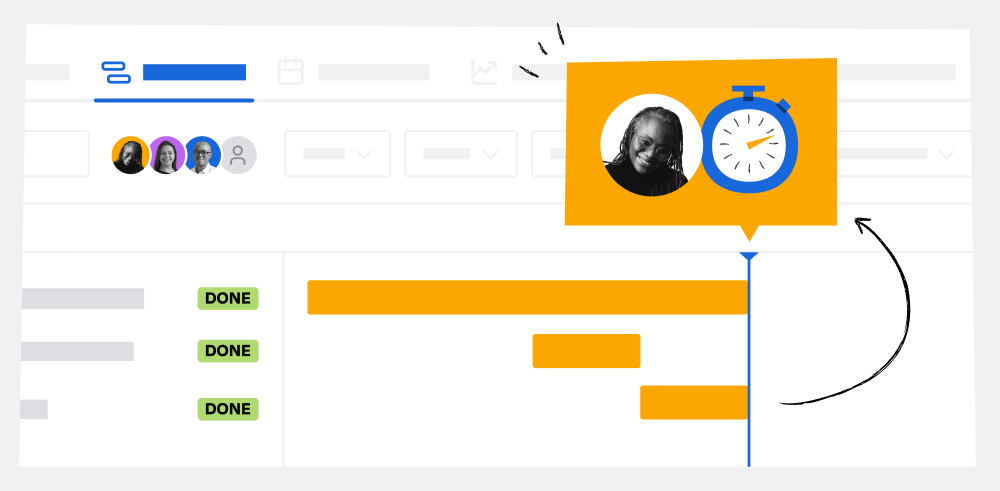
The Timeline view displays your space’s work chronologically from left to right. It’s ideal for scheduling child work items within larger parent work items and mapping the dependencies between work.
👇Here’s the Timeline view in Jira.

The Calendar view displays your space’s work on a monthly calendar. It’s ideal for tracking due dates, sprints, and releases. It can also help individual team members track their own work.
👇Here’s the Calendar view in Jira.
The Calendar view is also available in service spaces. The Timeline view is exclusive to business and software spaces.
Add the Timeline and Calendar views to your space
Both of these views appear in most space templates by default. If you don’t see them in your space, a space admin can add them to your space navigation.
To add the Calendar or Timeline view to your space:
- Navigate to your space.
- In space navigation, select Add to navigation (represented by a +).
- Under Views, select Calendar or Timeline, then click Add to navigation.
- If you want the view to appear in a different place in your space navigation, drag and drop it to the desired place.
👇This is where you add a view to your space navigation.

If you don’t see the Timeline view as an option, you may need to enable it separately.
To enable the Timeline view:
- Navigate to your space board.
- Next to the board name, select More actions (represented by ···), then Board settings.
- In the sidebar, select Timeline.
- Enable the timeline. You can also configure some timeline settings, like whether you include child work items and which fields you use for dates.
- Select Back to board. If you don’t see the Timeline view in your space navigation, you may need to add it. Otherwise, it should appear in your space navigation.
Explore the Timeline view
In the Timeline view, you can:
- Create work items
- View and create dependencies between work items
- See warnings about dependencies and due dates
- View your progress toward completing larger work items, like epics
- View work for specific assignees
- View and schedule work for weeks, sprints, months, and quarters
👉 For example: Zarogina just started a new space. She wants to communicate an expected delivery date to her team. She uses the Timeline view to create all of the work items she needs to complete this space, then estimates when she’ll be able to start and finish each task. She assigns other teammates work and adds dependencies between the work items to identify potential blockers. Zarogina can also see other work that her team is planning to do for other spaces and plan accordingly. When she finishes, she has an estimated delivery date that she can confidently communicate to her team.

👇Click the icons below to explore what you can do in the Timeline view.

Configure dependencies
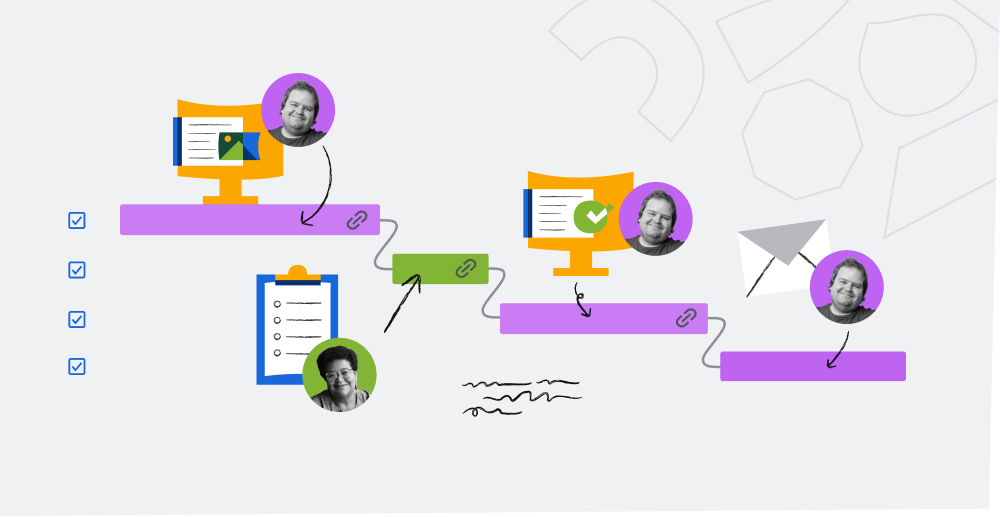
One of the most powerful features in the Timeline view is the ability to create and visualize dependencies between work items using lines.
👉 For example: Daniel is writing a blog post for a customer. He needs to write the first draft, then get a review from his coworker, Marie. After Marie’s review, he’ll write a final draft and send it to his customer. Daniel can use dependencies to show that Marie’s review is dependent on his first draft, and his second draft is dependent on Marie’s review. This helps him plan accurately and keep track of potential blockers.

Dependencies appear as lines connecting work items in the timeline. A red line indicates a problem with the dependency. You can click the link icon to view details about that work item’s dependencies.
To add a dependency to a work item, click and drag one end of a work item to another.
👇Watch the video below to learn how to add dependencies in the Timeline view.
The dependencies in your timeline appear on work items as linked work items. If you open a work item, you can see any dependent work items and their dependency type, like “blocks” and “is blocked by.”
👇You can see any dependent work items when you open a work item as well as the kind of dependency.
Explore the Calendar view
In the Calendar view, you can:
- Create work items
- Filter the calendar to view only relevant work
- View and schedule future work
- View your sprints and releases
- Quickly see the status of work
👉 For example: Isaac will go on paternity leave in two months. He wants to finalize the work he’ll do before then. In the Calendar view, he creates, schedules, and rearranges his work items until his leave date.
👉 Another example: Khushbu’s team uses a board to keep track of their work, but she has an important project deadline coming up. She uses the Calendar view to schedule and visualize her work leading up to the deadline. This gives her more clarity on what she needs to accomplish each day before this deadline.
👇Click the icons below to explore what you can do in the Calendar view.
